At brake service time, the quote almost always reads “pads and rotors” — and that pairing raises a fair question: do the rotors really need to go too, or are you paying for metal that still has life left? The honest answer depends on a few measurable things: how much thickness the rotors have left, whether the surface is true or warped, and the simple fact that brake pads and rotors wear as a matched pair. This guide walks through how to make that call with confidence, what the wear limits actually are, and how to choose and bed in the right combination for the way you drive.
Quick Answer
You don’t always need new rotors when you replace brake pads. Replace the rotors when they measure at or below the minimum thickness stamped on them, when you feel pulsation through the pedal or steering wheel, or when the surface is deeply scored, cracked, or has hot-spot discoloration. If the rotors measure in spec and the surface is smooth, fresh pads alone are fine. Many modern thin-profile rotors leave little room for machining, so shops increasingly replace rather than resurface them.
How Brake Pads and Rotors Work as a Pair
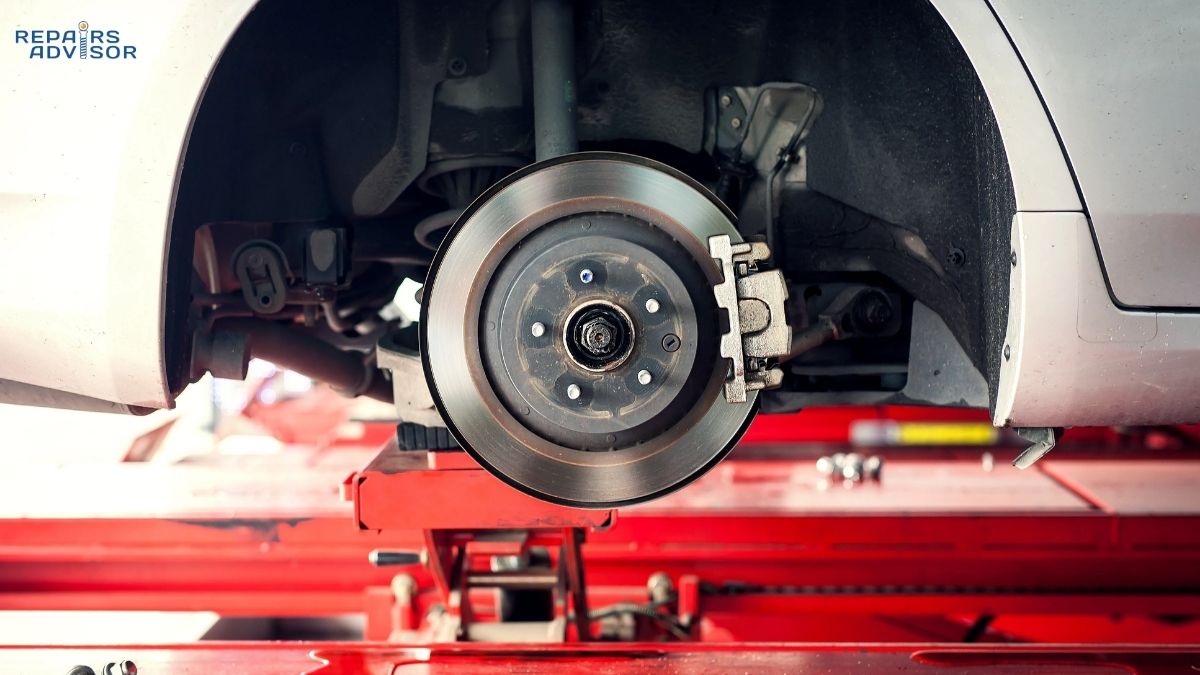
When you press the pedal, hydraulic pressure pushes the caliper pistons, which clamp the brake pads against the spinning rotor. That friction turns your car’s motion into heat, and the rotor’s mass absorbs and sheds that heat so the system can keep working stop after stop. If you want the full mechanical picture, the breakdown of how brake pads and rotors work together covers the friction and heat-management side in detail, and the wider disc brake system explains where the caliper fits in.
The key thing to understand is that pads and rotors mate to each other as they wear. The pad surface conforms to the exact contour of the rotor it has been riding against, and a thin transfer layer of friction material builds up on the rotor face. Put fresh pads on a grooved or uneven rotor and that relationship is broken — you get noise, vibration, and reduced contact until the two surfaces slowly re-learn each other. Pads are the consumable here, wearing faster and getting replaced more often. Rotors last longer, but they are not immortal: they thin out and can warp, which is exactly why the “both or just one?” question comes up in the first place.
Do You Always Need New Rotors With New Pads?
No — not every time. When it’s time to service your brakes, you generally have three options, and the right one depends on the rotors’ condition and your budget.
The first is pads only. This is viable when the rotors are still within their thickness spec, the surface is smooth, and you feel no pulsation when braking. It’s the most economical choice in the short term, with the caveat that brand-new pads need a little time to seat against an already-worn rotor surface. The second is pads plus resurfacing (also called turning or machining) the rotors. A brake lathe shaves a thin layer off the rotor to restore a flat, true surface — but it also removes material, moving the rotor closer to its discard limit. This practice is fading fast; industry estimates suggest fewer than a third of U.S. shops still machine rotors regularly, partly because replacement rotors have become inexpensive. The third option is pads plus new rotors, which is the most reliable route: new rotors arrive at full thickness with the correct surface finish, so the new pads bed in cleanly.
There’s also a parts-matching wrinkle. Original-equipment pads generally re-pair well with healthy original-equipment rotors, so if the rotors are in good shape there may be no need to touch them. Mixing an aggressive aftermarket pad compound with an older rotor, on the other hand, is a common reason people choose to replace both together. Whatever you decide, follow the per-axle rule: replace pads or rotors on both sides of an axle, even if only one side looks worn, so the car doesn’t pull under braking. Tracking your brake pad replacement intervals makes it easier to predict when the rotors will reach the end of their life too.
Professional Insight
For technicians, the cleanest result comes from synchronized replacement: matched pads and rotors deliver the best pedal feel and the lowest noise, vibration, and harshness. When both components are significantly worn, full replacement is the safest recommendation. Resurfacing is best treated as a short-term, budget-limited measure — worth offering when a customer can’t replace rotors, but always with the trade-offs explained, since fresh pads bearing down on a thinned, machined rotor will wear it out sooner.
Signs Your Rotors — Not Just Pads — Need Replacing
Worn pads and worn rotors announce themselves differently, and learning to tell them apart saves money. A pad that’s simply near the end of its life usually triggers a high-pitched squeal from its wear indicator at roughly 2 mm of remaining friction material. Rotor problems show up as something you can feel, not just hear.
The classic rotor symptom is pulsation — a rhythmic shudder through the brake pedal or steering wheel as you slow down, caused by thickness variation across the rotor face (often loosely called warping). Other tell-tale signs include deep grooves or scoring you can catch a fingernail in, blue or dark “hot-spot” discoloration that signals the metal has been overheated and its properties compromised, and any visible cracks or heavy rust pitting, which mean the rotor should be discarded regardless of how thick it measures. Longer stopping distances and persistent squealing that survives a pad change point the same direction.
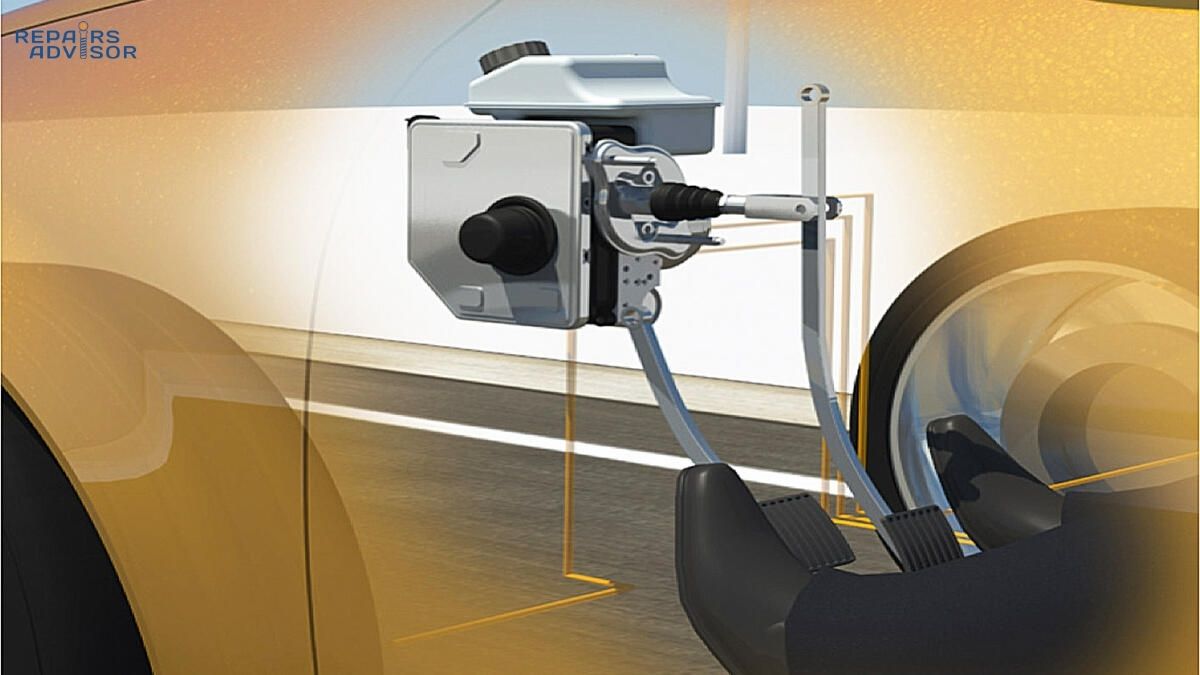
Before blaming the rotors for a soft or strange-feeling pedal, rule out the hydraulics. A spongy pedal is more often about air or moisture in the system than about the rotor — understanding how brake fluid behaves helps you separate the two, and pedal feel can also trace back to the master cylinder and booster. One symptom, though, leaves no room for diagnosis: a grinding or growling metal-on-metal sound means the pad is gone and is scoring the rotor. Stop driving and inspect it right away.
Rotor Thickness and Wear Limits: How to Check
Rotors carry two numbers that matter. The first is nominal thickness — how thick the rotor is when new, typically somewhere between 10 and 30 mm depending on the vehicle. The second is the minimum (or discard) thickness, usually 2 to 3 mm below the nominal figure, etched or stamped right on the rotor hat near the hub. Once a rotor reaches that minimum, it can no longer shed heat or resist warping safely, and it must be replaced rather than machined below the limit.
To check it properly you need a micrometer rather than ordinary calipers, because you’re measuring the braking surface, not the outer edge. Take readings at four or more points around the rotor and use the lowest one as your reference; if that value is at or below the stamped minimum, the rotor is done. Pads follow a similar logic — most should be replaced at or before about 2 to 3 mm of friction material remains. As a real-world example, a common compact SUV might leave the factory with front rotors around 28 mm thick and a minimum of roughly 26 mm, which gives you a sense of how little wear it takes to reach the limit. Always verify the exact figures against your vehicle’s service data, since they vary widely by make and model.
Professional Insight
Thickness is only half the story. Lateral runout beyond roughly 0.05–0.10 mm will produce pulsation even on a rotor that measures in spec, so a dial indicator belongs in the workflow alongside the micrometer. Cleaning rust and debris off the hub face before fitting a new rotor is non-negotiable — a contaminant as thin as a sheet of paper trapped between hub and rotor can induce enough runout to bring back the very pulsation you’re trying to cure. And bear in mind that many modern thin-profile rotors arrive close to their minimum from the factory, leaving essentially no material to machine, which is why first-time brake jobs on those vehicles often mean new rotors by default.
Choosing Pads and Rotors: Materials and Matching
Pad compound shapes how your brakes feel, sound, and wear. Organic pads are quiet and gentle on rotors but have a narrower temperature range and shorter life, suiting light daily driving. Ceramic pads produce very little dust, run quietly, and are easy on rotors, which makes them the sensible default for the large majority of commuters and family vehicles. Semi-metallic pads bite harder when cold and hold up far better under sustained heat, making them the choice for towing, hauling, or spirited driving — at the cost of more dust and faster rotor wear. The friction science behind these trade-offs is worth a read if you want to understand how pad and rotor materials interact at the surface.
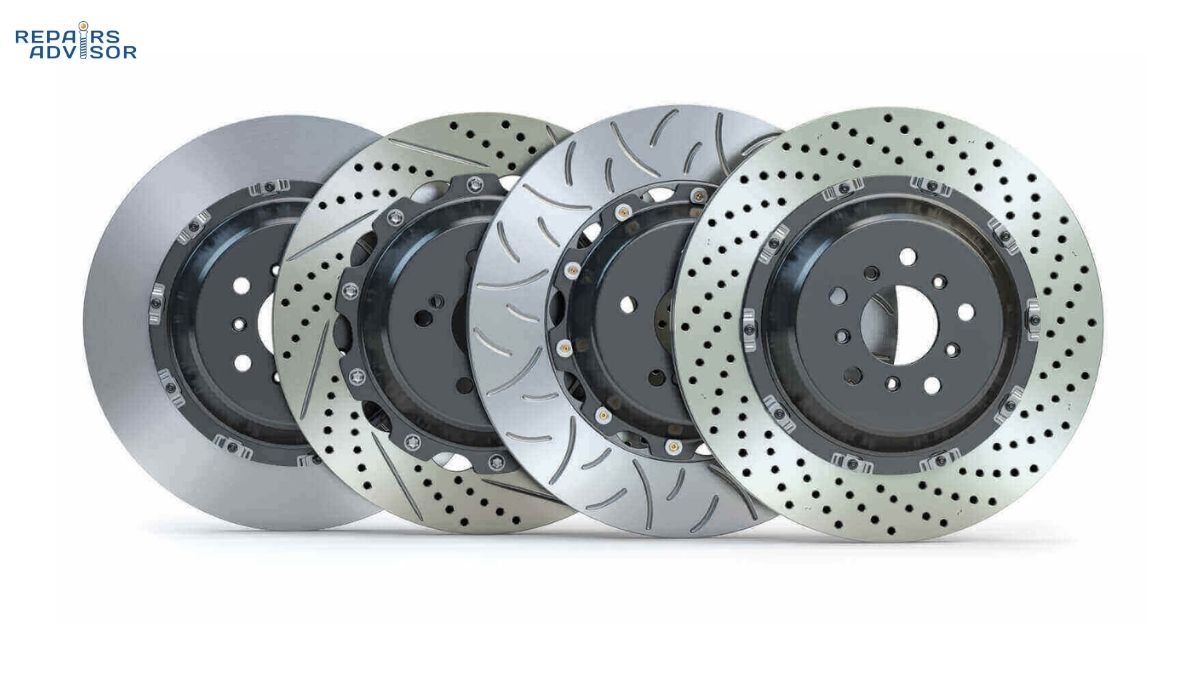
Rotors come in a few flavors too. Solid and vented rotors cover the vast majority of everyday vehicles, with vents helping shed heat during stop-and-go driving. Slotted rotors use shallow grooves to sweep gas and debris off the pad face and resist glazing, which makes them a strong pick for towing and heavy loads. Drilled — or drilled-and-slotted — rotors improve cooling and wet-weather performance and are aimed at performance and light-track use. The guiding principle is to match the pad compound and rotor type to your actual driving. If you mostly commute, ceramic pads on standard vented rotors are the safe, quiet, low-maintenance combination. If you tow, lean toward semi-metallic pads with vented or slotted rotors. Matched kits take the guesswork out of compatibility, since the pad and rotor are engineered to work together.
Replacing Brake Pads and Rotors: Procedure Overview and Safety
Replacing pads and rotors is a realistic project for a confident intermediate DIYer, but it is brake work — a safety-critical system — so treat the service manual for your specific vehicle as the authority and the outline below as orientation, not a substitute. In broad strokes, the job runs like this: chock the wheels and loosen the lug nuts while the car is still on the ground, then raise it and secure it on rated jack stands before removing the wheel. Unbolt the caliper and hang it from the suspension with a hook or wire so its weight never pulls on the brake hose. Remove the caliper bracket and the old rotor, then clean the hub face down to bare metal. Fit the new rotor, retract the caliper piston (keeping an eye on the brake-fluid reservoir so it doesn’t overflow), install the new pads and any fresh hardware with the correct lubricant on the contact points — never on the friction surfaces — and torque every fastener to spec. Refit the wheel, lower the car, and pump the pedal until it’s firm before the vehicle ever moves.
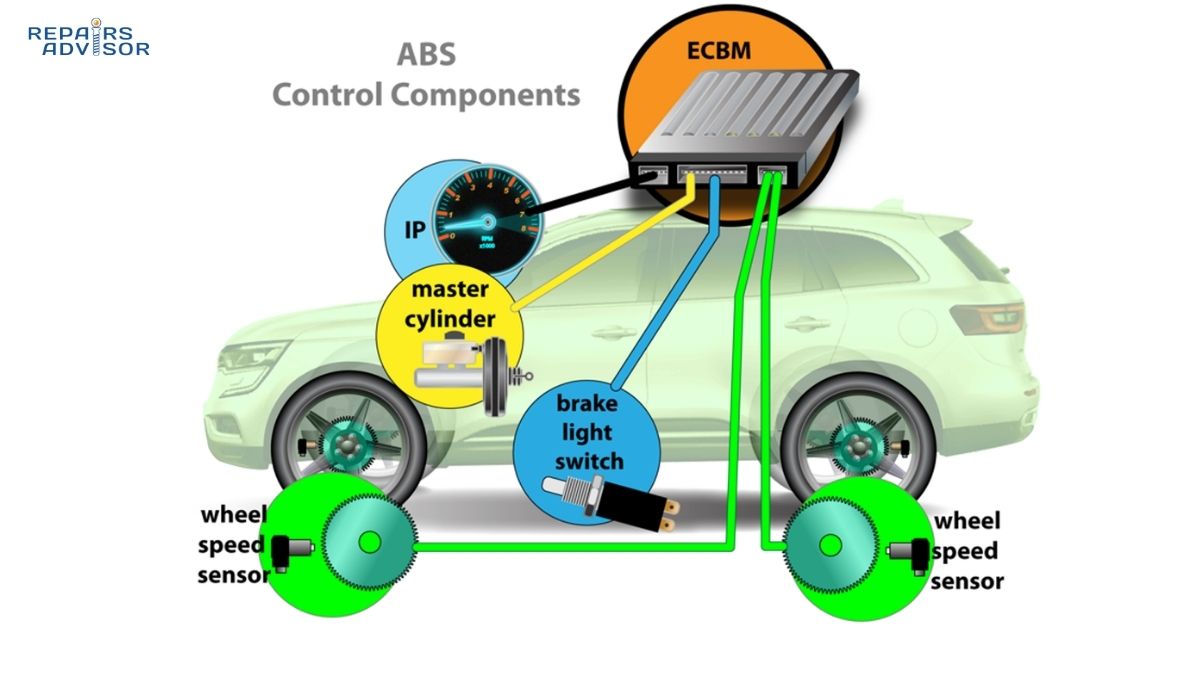
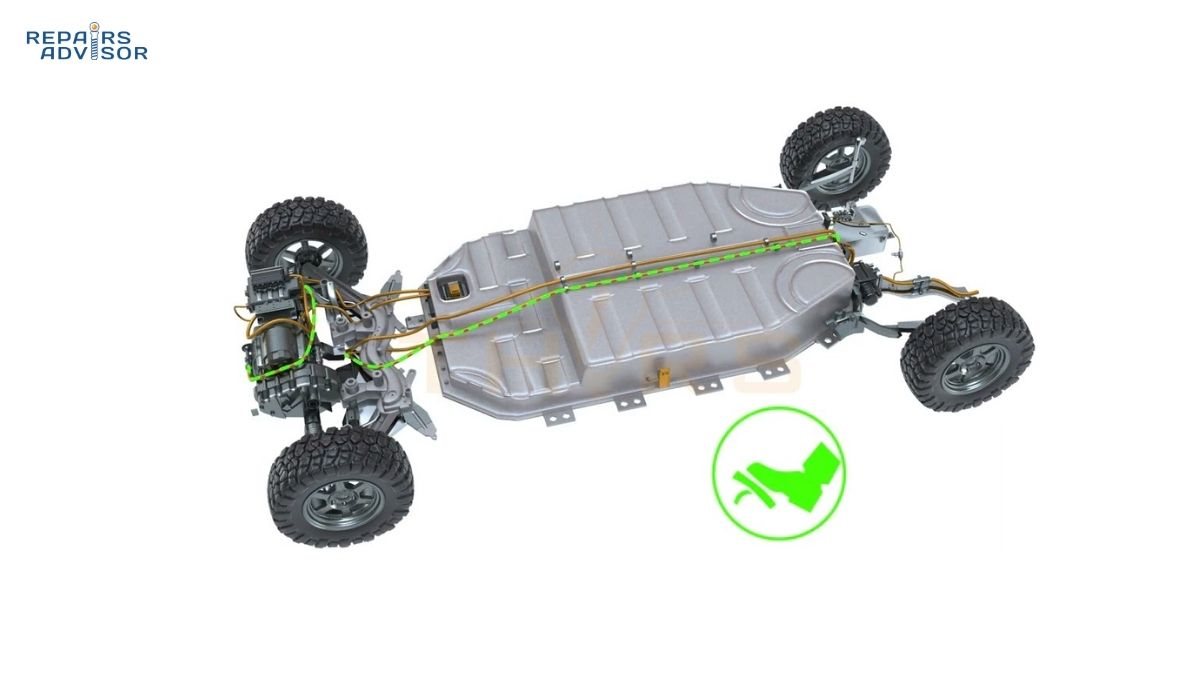
Torque matters here, and a torque wrench is not optional. As rough reference figures only, lug nuts often land around 80–100 ft-lb, caliper slide pins around 25–35 ft-lb, and caliper brackets around 75–110 ft-lb — but you must confirm the exact values for your vehicle. If a brake line is opened at any point, the system has to be bled afterward; the walkthrough on bleeding your brakes covers that procedure. A few situations push this job firmly toward a professional: vehicles with an electronic parking brake usually need a scan tool to put the caliper into service mode, and systems tied closely to ABS or brake-by-wire hardware can require diagnostic equipment most home garages don’t have.
⚠️ Safety first: brakes are a safety-critical system, and the consequences of getting them wrong are severe. Never work under a vehicle supported only by a jack — always use rated jack stands. Brake fluid is corrosive and harmful, so wear eye protection and gloves and work in a ventilated space. Confirm a firm pedal before driving, and if you’re not fully confident in any step, have a qualified technician handle it.
Cost, DIY vs. Professional, and Bedding-In
Prices vary widely by vehicle, region, and parts quality, but a few ranges help set expectations. Having a shop replace pads and rotors typically runs somewhere around $250–$600 per axle, with luxury and performance vehicles landing higher. Doing it yourself drops the cost to roughly $150–$300 per axle in parts — pads often $35–$150 and rotors $30–$175 each — plus a one-time investment in tools like jack stands, a torque wrench, and a caliper piston tool. Treat these as planning figures, not quotes.
The DIY-versus-professional decision really comes down to an honest read of your own skills and the vehicle. A front-axle brake job on a conventional car is the usual entry point for home mechanics, while a rear axle with an electronic parking brake adds complexity that may tip the balance toward a shop. Whichever route you take, the final step is the one most people skip: bedding in the new brakes. Bedding deposits an even layer of pad material onto the rotor, which stabilizes pedal feel and keeps the brakes quiet. The general method is a series of moderate decelerations from progressively higher speeds without coming to a full, hard stop, followed by a cool-down period — but always follow the pad manufacturer’s specific procedure, since improper bedding leaves uneven deposits that can mimic the feel of warped rotors. Healthy, properly bedded brakes also matter to the systems that depend on them, including electronic stability control, which relies on consistent braking at each wheel.
Conclusion
The decision really isn’t complicated once you frame it around condition rather than habit. Measure the rotors first, and replace them on the evidence — thickness at or below the minimum, pulsation, deep scoring, cracks, or hot spots — rather than automatically every time the pads come off. Match the pad compound and rotor type to how you actually drive, service full axles at a time, and bed the new components in properly so they perform and last as intended. When the job involves an electronic parking brake, ABS or brake-by-wire hardware, or any step you’re unsure about, a qualified technician is the right call — there’s no shame in handing off a safety-critical system. If you’d like to dig deeper, plenty of vehicles still pair their front discs with rear drum brakes, which follow a different service logic worth understanding before your next brake job.
Brake Pads and Rotors: Frequently Asked Questions
Replacing brake pads and rotors raises the same handful of questions for most drivers — whether both parts have to be replaced together, how to tell which one is actually worn, and what the job should cost. These answers cover the practical decisions, the wear limits that matter, and the safety lines worth respecting.
Do I have to replace rotors when I replace brake pads?
Not always. If the rotors are still within their thickness spec, the surface is smooth, and you feel no pulsation when braking, fresh pads alone are fine. You should replace the rotors when they measure at or below the minimum thickness stamped on them, when they’re warped, deeply scored, cracked, or showing hot-spot discoloration. Because pads and rotors wear as a matched pair, new pads do need a short break-in period to seat against an already-worn rotor surface.
How do I know if my rotors need replacing or just the pads?
Worn pads usually announce themselves with a high-pitched squeal from the wear indicator at roughly 2 mm of remaining material. Rotor problems are things you feel: pulsation through the pedal or steering wheel points to thickness variation, while deep grooves, blue or dark discoloration, cracks, or heavy rust pitting all call for replacement. A grinding, metal-on-metal sound means the pad is gone and is scoring the rotor — stop driving and inspect it immediately. If the pedal feels spongy rather than pulsing, the cause is more likely in the hydraulics; understanding how brake fluid behaves helps you tell the difference.
Can you resurface rotors instead of replacing them?
Sometimes. Resurfacing (also called turning or machining) shaves a thin layer off the rotor on a brake lathe to restore a flat surface, which can be a budget-limited option if the rotor still has enough material left and no cracks or warping. The trade-off is that machining removes thickness and moves the rotor closer to its discard limit, so fresh pads bearing down on a thinned rotor tend to wear it out sooner. The practice is fading — fewer than a third of U.S. shops still machine rotors regularly — partly because replacement rotors have become inexpensive and arrive at full thickness with the correct surface finish.
How long do brake rotors last compared to pads?
Rotors generally outlast pads, so you’ll typically replace pads at least once before the rotors reach their limit. Pad life varies enormously with driving style and conditions, and aggressive braking or heavy loads can wear rotors fast enough that they need replacing alongside the pads every time. Tracking your brake pad replacement intervals makes it easier to predict when the rotors will reach the end of their life too.
What is the minimum rotor thickness, and how do I check it?
Every rotor has a minimum (or discard) thickness etched or stamped on the hat near the hub, usually 2 to 3 mm below the rotor’s nominal new thickness. Below that figure, the rotor can no longer shed heat or resist warping safely and must be replaced rather than machined further. To check it, use a micrometer on the braking surface — not ordinary calipers — and take readings at four or more points, using the lowest value as your reference. Always verify the exact spec against your vehicle’s service data, since figures vary widely by make and model.
Do I need to replace brake pads and rotors on all four wheels at once?
No, but you do need to work a full axle at a time. Front and rear brakes wear at different rates — fronts usually wear faster because they handle more of the braking load — so it’s normal to service one axle while the other still has life left. Within an axle, though, always replace pads or rotors on both sides even if only one looks worn, so the car doesn’t pull to one side under braking.
Should I use ceramic or semi-metallic brake pads?
For most commuters and family vehicles, ceramic pads are the sensible default: they’re quiet, produce little dust, and are gentle on rotors. Semi-metallic pads bite harder when cold and hold up better under sustained heat, which makes them the better choice for towing, hauling, or spirited driving, at the cost of more dust and faster rotor wear. The key is matching the pad compound and rotor type to how you actually drive; the friction science behind how pad and rotor materials interact explains why mismatched combinations wear unevenly.
How much does it cost to replace brake pads and rotors?
Prices vary by vehicle, region, and parts quality, but a shop typically charges somewhere around $250–$600 per axle for pads and rotors, with luxury and performance vehicles landing higher. Doing it yourself drops the cost to roughly $150–$300 per axle in parts — pads often $35–$150 and rotors $30–$175 each — plus a one-time investment in tools. Treat these as planning figures rather than quotes, since the final price depends heavily on your specific car and local labor rates.
Do new brake pads and rotors need to be bedded in?
Yes, and it’s the step most people skip. Bedding in deposits an even layer of pad material onto the rotor, which stabilizes pedal feel and keeps the brakes quiet. The general method is a series of moderate decelerations from progressively higher speeds without coming to a full, hard stop, followed by a cool-down — but always follow the pad manufacturer’s specific procedure. Improper bedding leaves uneven deposits that can mimic the feel of warped rotors, and well-bedded brakes also support the systems that depend on consistent braking, such as electronic stability control.
Why are my new brakes squeaking or vibrating after replacement?
A little squeal or vibration shortly after a brake job is often the new pads bedding in against the rotor, and it usually settles once a transfer layer forms. Persistent noise or pulsation, though, can signal something to address: an uneven deposit from improper bedding, debris or rust left on the hub face inducing runout, missing anti-rattle hardware, or pads and rotors that aren’t well matched. If the pedal feels soft rather than noisy, the issue may be air in the lines — the walkthrough on bleeding your brakes covers that.
Can I replace brake pads and rotors myself?
It’s a realistic project for a confident intermediate DIYer with a jack, rated jack stands, a torque wrench, and a caliper piston tool — but it’s brake work, so treat your vehicle’s service manual as the authority and never work under a car supported only by a jack. A front-axle job on a conventional car is the usual entry point. Some situations push the job toward a professional: vehicles with an electronic parking brake often need a scan tool to put the caliper into service mode, and systems tied closely to ABS or brake-by-wire hardware can require diagnostic equipment most home garages don’t have. If you’re unsure about any step, have a qualified technician handle it.