An oil cooler serves as a critical heat exchanger in your vehicle’s lubrication system, maintaining optimal oil temperature for engine performance and longevity. Understanding how oil cooling systems work helps intermediate DIY enthusiasts make informed maintenance decisions while recognizing when professional consultation is necessary for complex cooling system repairs.
Safety Notice: Oil cooler inspection and maintenance involves working with pressurized systems and hot fluids. Always allow the engine to cool completely before inspection. For safety-critical cooling system repairs or modifications, consult qualified automotive professionals. This information is for reference only and does not guarantee repair outcomes.
Why Oil Cooler Is Critical for Engine Performance
The oil cooler functions as an essential heat exchanger that prevents engine oil from reaching temperatures that would compromise its lubricating properties and engine protection capabilities. Modern engines generate substantial heat during operation, and without effective oil temperature management, the oil would break down rapidly, leading to increased wear, reduced fuel efficiency, and potential engine damage.
Oil temperature directly affects viscosity, with excessive heat causing oil to thin beyond specifications and lose its ability to maintain proper lubrication films between moving parts. The engine oil pump circulates oil through the cooler system, where heat exchanger technology transfers thermal energy from the oil to ambient air or engine coolant. This process maintains oil temperature within the optimal range typically between 180-220°F (82-104°C) for most passenger vehicles.
Professional mechanics recognize that oil cooling becomes increasingly important in high-performance applications, commercial vehicles, and engines operating under severe conditions such as towing or extreme climates. The oil cooler works in conjunction with the entire engine cooling system to maintain thermal balance throughout the powertrain.
For beginners, understanding oil temperature importance helps identify potential cooling system problems early. Warning signs include oil temperature gauge readings consistently above normal, oil degradation occurring faster than expected service intervals, or engine performance issues related to oil viscosity changes.
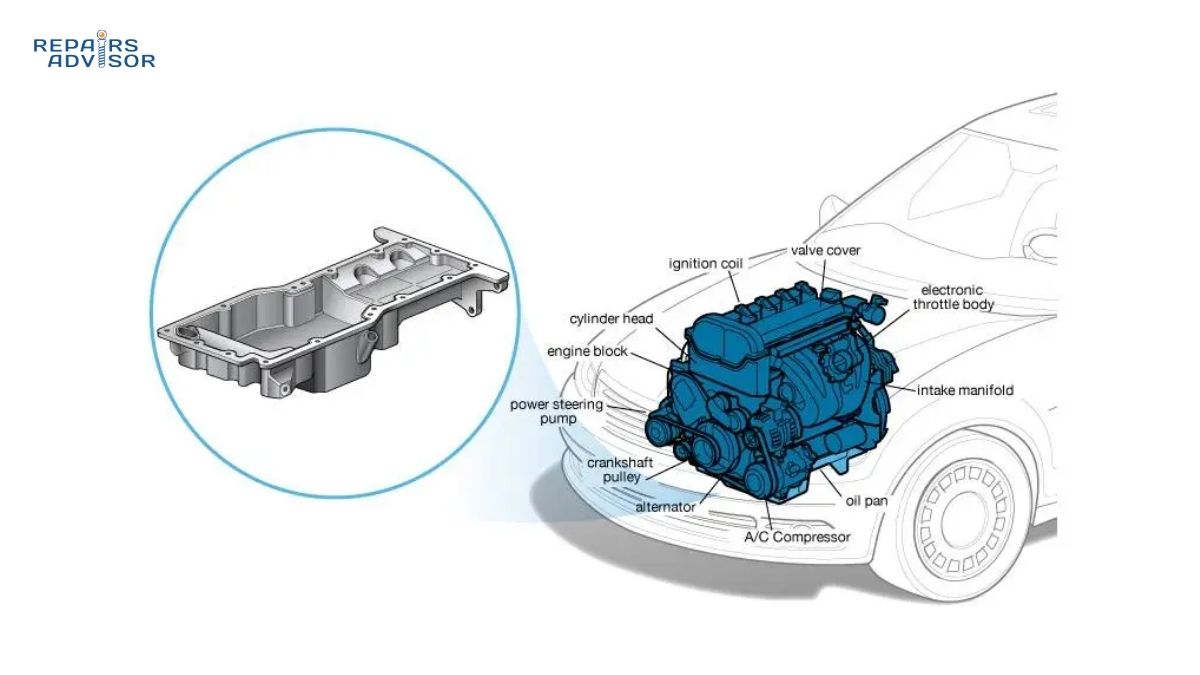
Oil Cooler Parts and Construction Explained
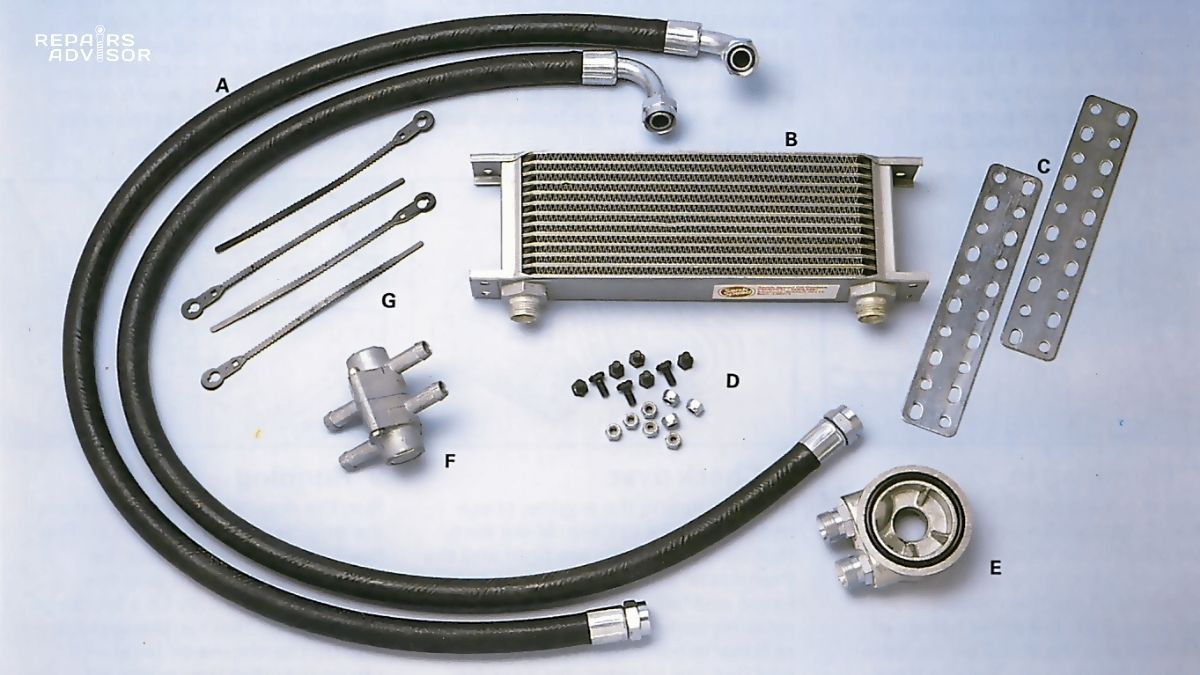
The oil cooler assembly consists of several precision-engineered components working together to efficiently transfer heat from engine oil. The primary heat exchanger core features internal passages designed to maximize surface area contact between oil and cooling medium while maintaining proper flow rates throughout the lubrication system.
The heat exchanger utilizes either air-to-oil or liquid-to-oil cooling technology, depending on vehicle design and performance requirements. Air-to-oil coolers feature aluminum or copper fins that dissipate heat directly to ambient air, similar to radiator construction. Liquid-to-oil coolers integrate with the engine cooling system, using coolant as the heat transfer medium through internal passages within the heat exchanger core.
The thermostat valve component regulates oil flow through the cooler based on temperature requirements. When oil temperature reaches predetermined levels, the thermostat valve opens to direct flow through the cooling passages. This temperature-controlled operation ensures the engine reaches proper operating temperature quickly during warm-up while preventing overcooling during normal operation.
Oil lines connect the cooler to the engine’s lubrication system through strategically positioned oil pan connections or engine block fittings. These lines must withstand system pressure while providing flexible routing around engine components. Professional-grade installations use reinforced hoses with proper fittings rated for oil system pressures.
Mounting systems secure the oil cooler in locations that optimize airflow while protecting the unit from road debris and vibration. Cooling fins extend from the heat exchanger core to increase surface area for thermal transfer, with spacing designed to balance heat dissipation against airflow restriction.
The bypass valve provides a safety mechanism that maintains oil circulation if the cooler becomes restricted or during cold-start conditions when thick oil might create excessive pressure drop through the cooling passages. This component ensures continuous lubrication under all operating conditions.
How Oil Cooler Works: Step-by-Step Operation
The oil cooling process begins when the engine oil pump draws oil from the pan and develops system pressure throughout the lubrication circuit. A portion of this pressurized oil flow gets directed to the oil cooler through dedicated oil lines when the thermostat valve determines that oil temperature requires cooling intervention.
Inside the heat exchanger core, hot oil flows through internal passages designed to maximize heat transfer surface area. The passage configuration creates turbulent flow patterns that enhance thermal transfer efficiency while maintaining acceptable pressure drop across the cooling system. Heat transfer occurs through conduction from the oil to the passage walls, then through convection to the cooling medium.
For air-cooled systems, ambient air flowing across the external cooling fins removes thermal energy from the heat exchanger core. Vehicle movement and cooling fans provide the necessary airflow, with fin design optimizing heat dissipation while minimizing airflow restriction. High-performance applications may include dedicated cooling fans for the oil cooler system.
Liquid-cooled oil coolers integrate with the engine’s primary cooling system, using engine coolant as the heat transfer medium. The coolant absorbs thermal energy from the oil passages and carries this heat to the radiator for dissipation. This design provides more consistent cooling performance but requires proper integration with coolant system capacity and flow rates.
Temperature control occurs through the thermostat valve mechanism, which modulates oil flow through the cooler based on temperature sensing. During cold starts, the valve remains closed, allowing oil to bypass the cooler and reach operating temperature quickly. As temperature rises, the valve progressively opens to maintain optimal oil temperature throughout various operating conditions.
The bypass valve ensures continuous oil flow even if the cooler becomes restricted, protecting the engine from loss of lubrication pressure. This safety feature automatically opens when pressure differential across the cooler exceeds design limits, maintaining critical oil circulation to engine components.
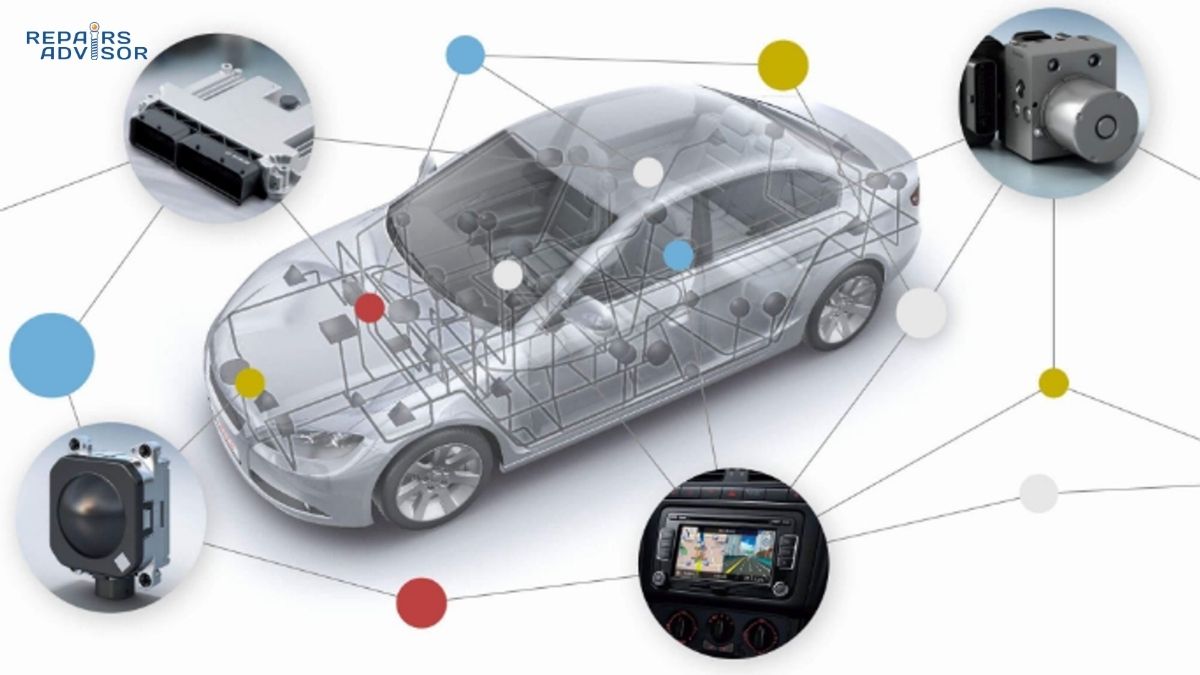
Professional mechanics understand that oil cooler efficiency depends on proper system integration with overall thermal management. The cooling system must balance oil temperature control with engine warm-up requirements, ensuring optimal performance across all operating conditions.
Oil Cooler Location and Access Guide
Most oil coolers mount in locations that optimize airflow while providing reasonable access for maintenance and inspection. Common mounting positions include the front of the vehicle behind the grille area, where they receive maximum airflow during operation, or integrated within the radiator assembly for liquid-cooled systems.
Air-cooled oil coolers typically mount in the airstream path ahead of the radiator, using brackets that secure the unit while allowing for thermal expansion. This positioning maximizes cooling efficiency but requires protection from road debris through stone guards or careful positioning behind other components. Professional installations consider airflow patterns to avoid creating hot spots or airflow restrictions.
Engine-mounted oil coolers integrate directly with the lubrication system through engine block connections or oil filter housing modifications. These installations provide shortest oil line runs but may require more complex mounting solutions due to space constraints and thermal management considerations.
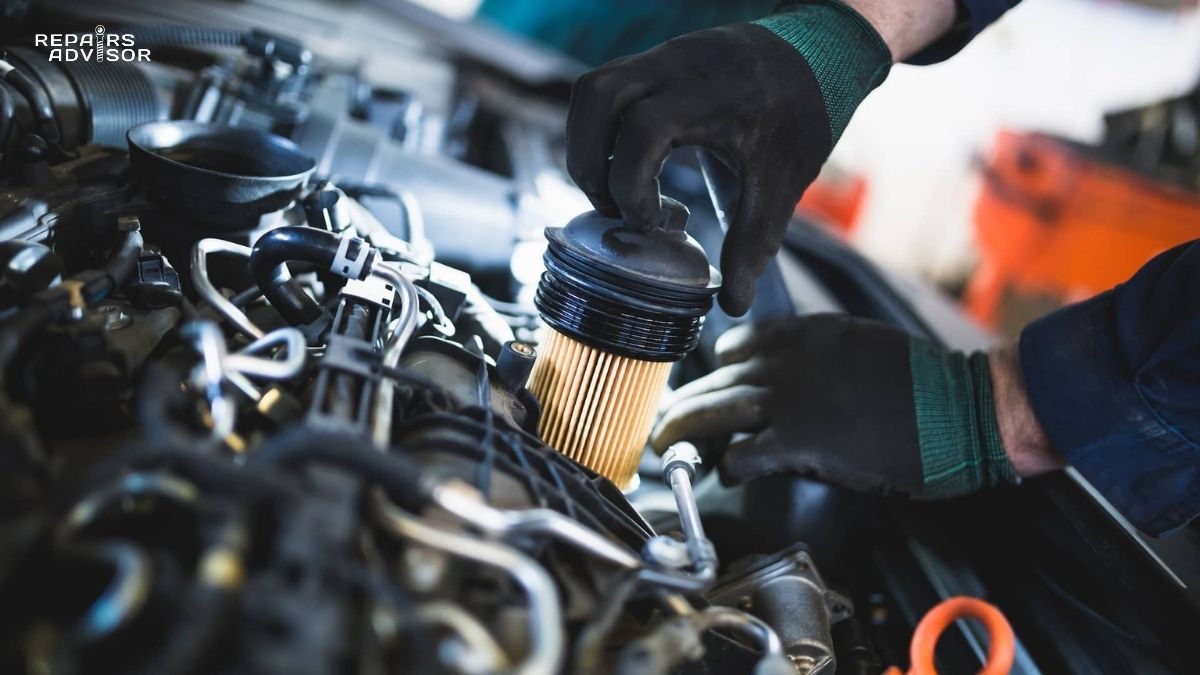
For maintenance access, oil cooler inspection requires visual examination of the heat exchanger core for damage, debris accumulation, or oil leakage. Intermediate DIY mechanics can check external cooling fins for bent or damaged sections that might restrict airflow, while oil filter service provides opportunity to inspect connecting oil lines.
Safety Warning: Oil cooler maintenance involves working with pressurized oil systems and potential hot surfaces. Always ensure the engine is completely cool and system pressure is relieved before attempting any inspection or maintenance procedures. Professional consultation is recommended for oil line connections or cooler replacement.
Line routing requires careful consideration of heat sources, moving components, and potential damage from road debris. Professional installations use protective sleeves and secure mounting points to prevent line damage while maintaining proper bend radius requirements for oil flow.
Troubleshooting oil cooler problems begins with monitoring oil temperature gauge readings and observing oil condition during regular service intervals. Consistently high oil temperatures, rapid oil degradation, or visible oil leaks around cooler connections indicate potential cooling system issues requiring professional diagnosis.
Advanced diagnostic procedures may include oil temperature measurement at various system points, pressure testing of oil lines, and thermal imaging of the heat exchanger core. These procedures require specialized equipment and professional expertise to ensure accurate diagnosis and safe repair procedures.
Professional Consultation Required: Oil cooler replacement, system modifications, or complex diagnostic procedures should be performed by qualified automotive technicians with appropriate equipment and safety procedures. Improper installation or repair can result in oil system failure and severe engine damage.
For beginners, basic oil cooler awareness includes understanding the component’s role in engine thermal management and recognizing warning signs that might indicate cooling system problems. Regular oil service provides opportunities to discuss oil temperature concerns with service professionals and maintain optimal lubrication system performance.
Regular maintenance of related components like cooling system thermostats and proper oil service intervals help ensure oil cooler longevity and effectiveness. Following manufacturer specifications for oil viscosity and service intervals supports optimal thermal management system performance.
This information is provided for reference only. Always consult manufacturer specifications and qualified professionals for vehicle-specific repair guidance. Repairs Advisor provides technical information and repair manuals but does not perform direct repair services or warranty repair outcomes.